Working out how to fix a leaking shower starts with one question: where is the water actually getting out? Shower leaks rarely announce themselves. There is no burst pipe and no flood, just damp on the hallway skirting, a grout line that never dries, or a water bill that has crept up for no obvious reason.
The fix depends entirely on the source. A worn tap washer is a twenty-minute job you are legally allowed to do yourself. A failed waterproofing membrane under the shower floor is a bathroom strip-out. Both produce identical symptoms, which is why guessing gets expensive. Here are the checks worth doing first, the 24-hour flood test our plumbers run on site to tell those two apart, and the point where Queensland law stops you going further.
Why a Small Shower Leak Turns Into a Big Bill
Shower leaks are slow, and that is what makes them costly. Water tracks under tiles, soaks into the wall frame, and surfaces in a room you were not even looking at. Waterproofing sits among the ten most common defective work complaints in Queensland, and the Queensland Building and Construction Commission reports that residential bathroom claims finalised under the Queensland Home Warranty Scheme in 2024–25 averaged almost $25,000 in rectification costs. Caught early, the same leak is usually a new cartridge or a reseal.
The Two Kinds of Shower Leak (And Why the Difference Matters)
Almost every leaking shower is one of two problems, and diagnosis is about ruling one out.
- A plumbing leak: water escaping from the tapware, mixer cartridge, shower arm, outlet or pipework behind the wall. It only leaks while water is running.
- A waterproofing leak: water passing through the shower floor, the wall and floor junction, the waste penetration or a cracked base. It leaks whenever water sits on the floor, taps on or off.
The first is a repair. The second means the membrane under your tiles has failed, and that membrane is regulated construction work. Under the National Construction Code a shower floor must be waterproof including any hob or step-down, walls must be waterproof to not less than 1800 mm above the floor substrate, and the build must comply with AS 3740, the Australian Standard for waterproofing of domestic wet areas. Silicone over a failed membrane restores none of that. It hides the evidence.
Step 1: Check the Obvious Suspects First
Most leaks a homeowner can fix are visible with a torch and a close look.
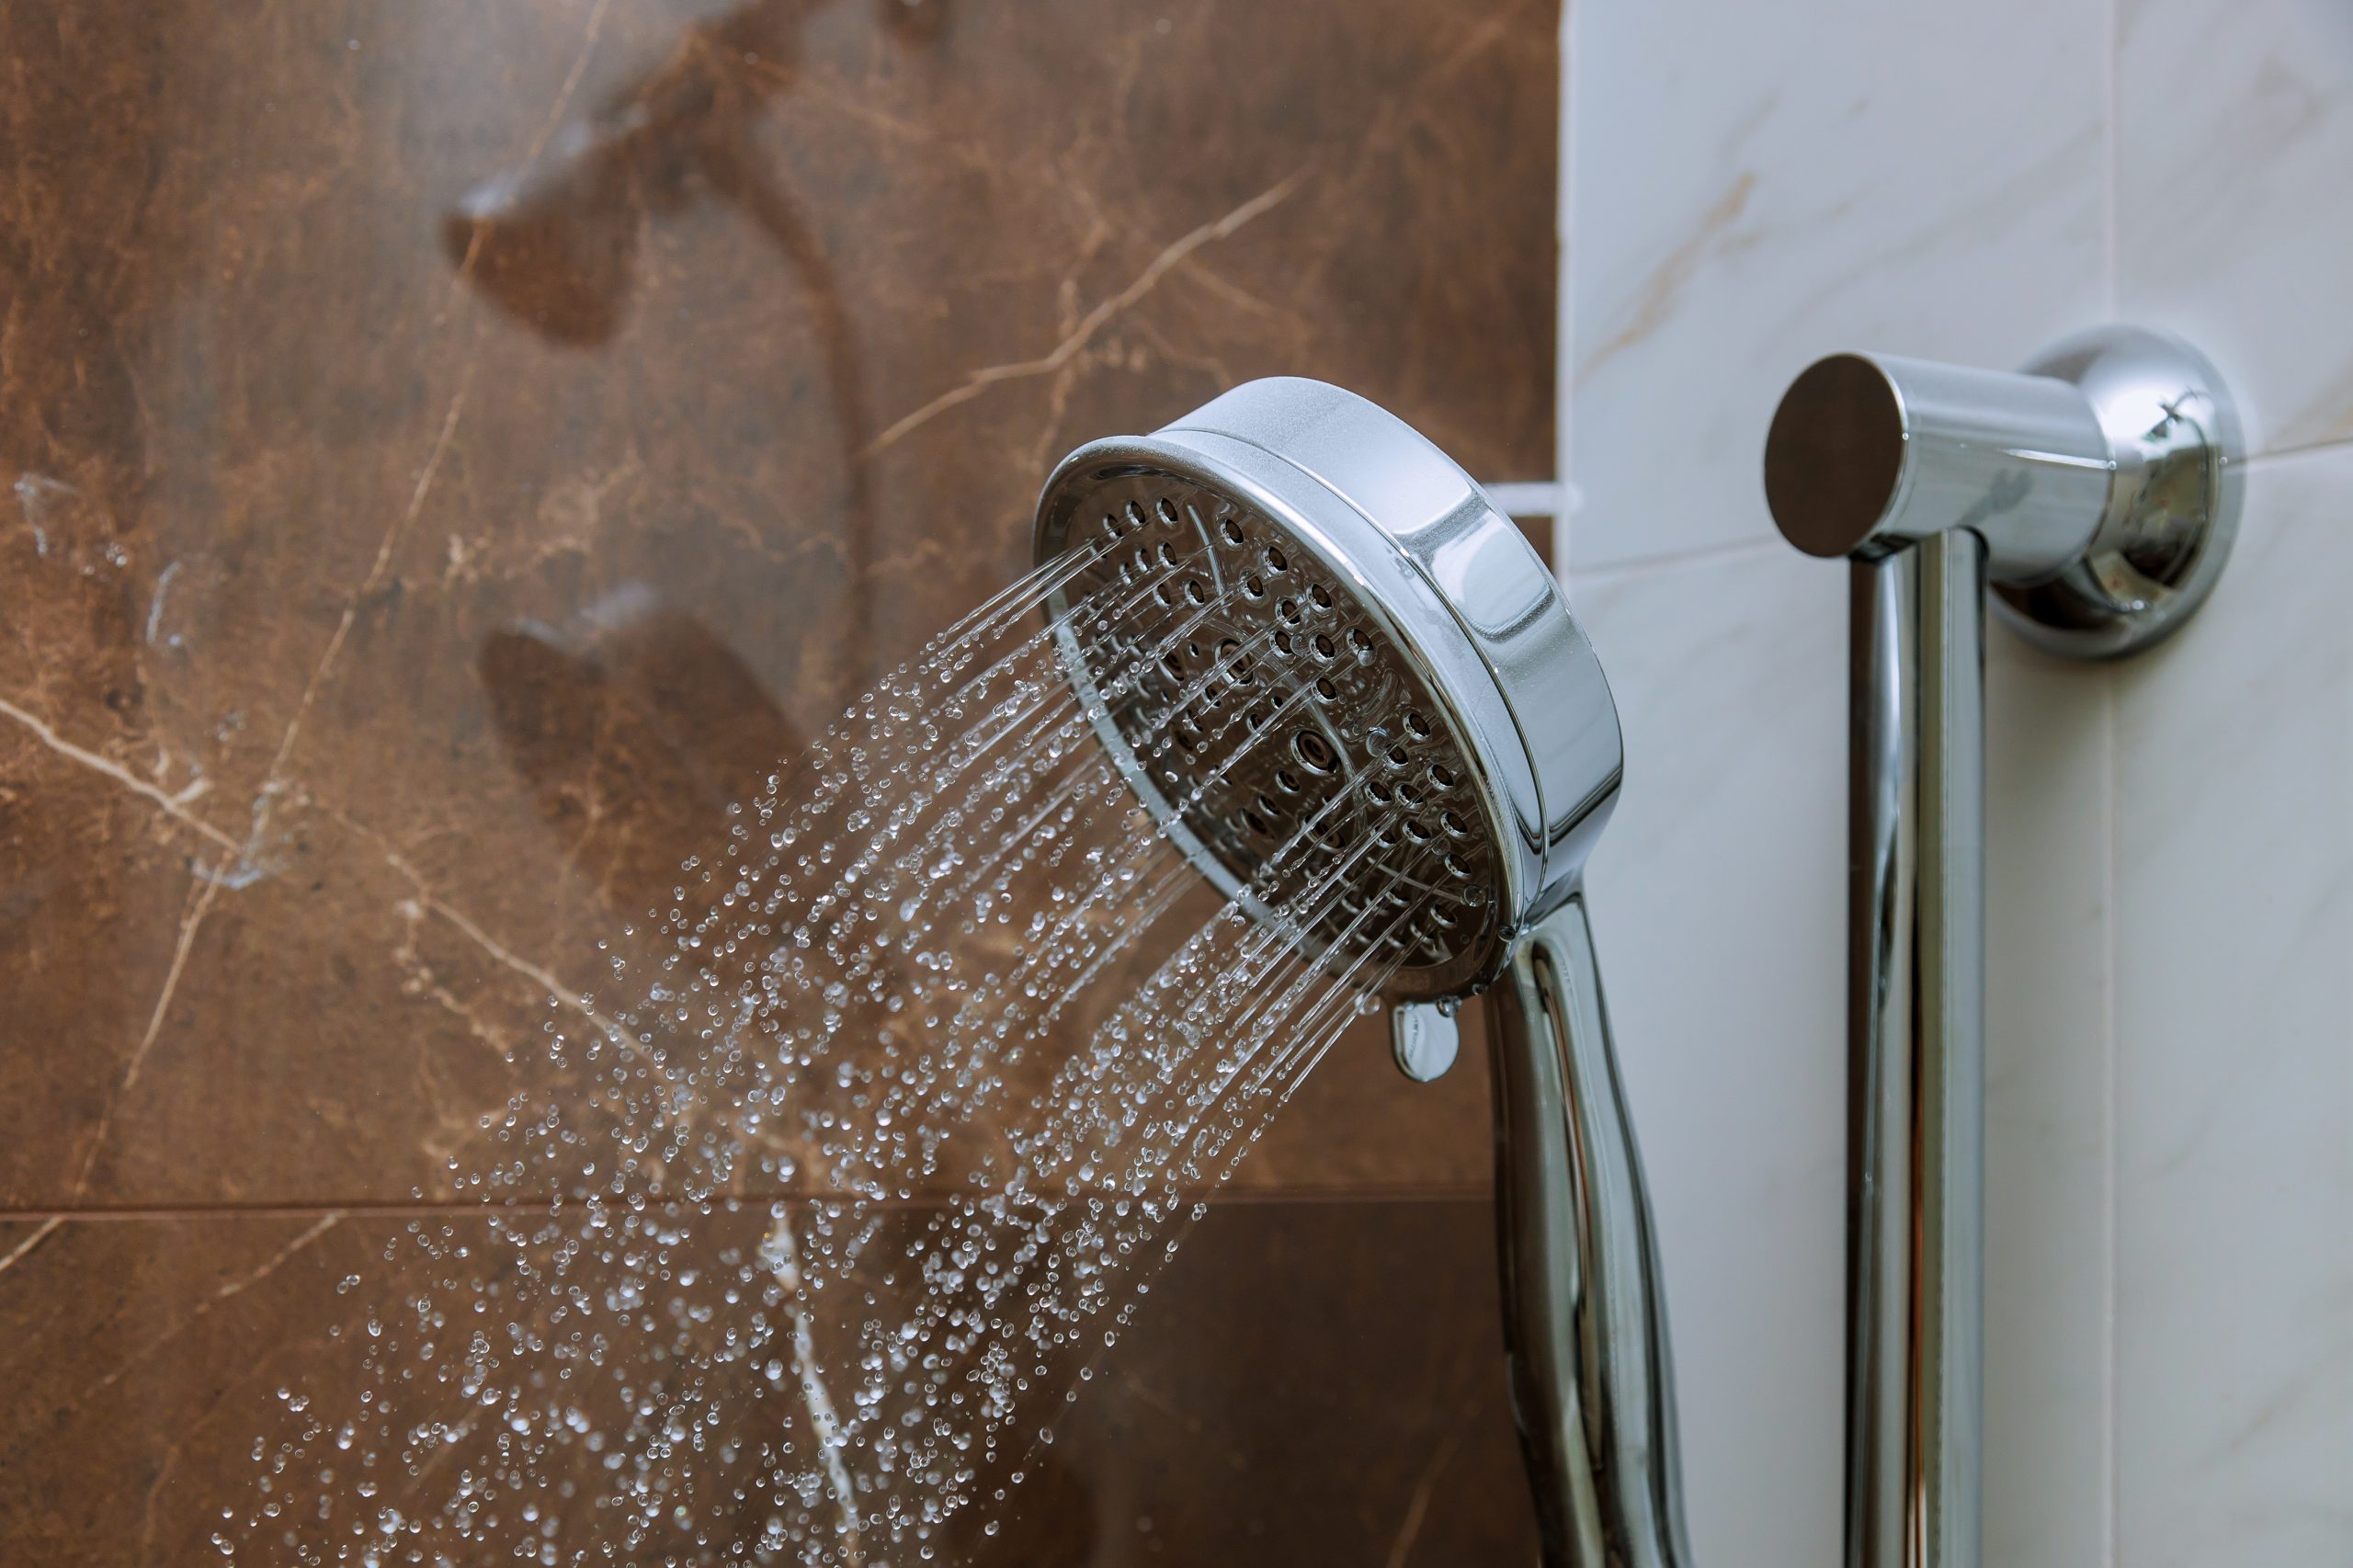
- The shower head and arm. Dripping after the taps are off means a worn washer or perished thread seal. Dripping where the arm meets the wall points at the connection behind the tile.
- The tapware. A tap that drips constantly, needs force to shut off, or squeaks is telling you the washer or cartridge has gone. Our guide to fixing a leaking tap covers what that involves.
- Silicone and grout. Silicone that is hard, cracked, lifting or blackened has stopped sealing. Check for grout that is missing, powdery, or permanently darker than the grout around it.
- The waste. Pull the grate and check the collar. Water pooling rather than draining suggests the fall is wrong or the waste connection has failed.
Fix anything obviously worn, then wait a week. If the damp patch is still there, the leak is somewhere you cannot see.
Step 2: Run the 24-Hour Flood Test
This is the test our plumbers run on Gold Coast jobs when a homeowner cannot tell us which leak they have, and it is the only DIY-accessible check that separates the waterproofing from the plumbing. The logic is simple: if no water runs through any pipe or tap for 24 hours and water still gets out, the pipework cannot be the source. The only remaining path is through the floor.
How to run it
- Dry everything first. Towel the shower, and dry the ceiling below and the skirtings in adjoining rooms. Without a clean baseline the result means nothing.
- Plug the waste. A proper drain test plug is best. A rubber bung, or a wet cloth pushed firmly into the outlet and covered with plastic, holds well enough on most bases.
- Fill the base. Add water until it sits a few millimetres deep across the whole floor, up to just below the hob or step-down, so the floor and the wall junction are submerged. Use a bucket, not the shower, so nothing runs through the tapware.
- Mark the level. A pencil mark or strip of tape on the tile at the water line.
- Leave it 24 hours and use nothing. No shower, no taps, no cleaning. Then check the mark, and check everything downstream: the ceiling below, adjoining skirtings, the carpet edge in the hall, the external wall.
One caution. If the membrane has already failed, a flood test pushes water into the building, so on an upper storey or over a finished ceiling it is worth having it run and documented rather than blind. That is what our half-price shower leak test and written report is for.
Step 3: Read Your Result
- Level dropped, or new damp appeared: water is escaping through the floor while nothing is running. That is a waterproofing failure, a failed waste connection or a cracked base. Not a DIY repair.
- Level held and nothing appeared: the floor and membrane are sound. Your leak only happens when water moves, which puts it in the tapware, cartridge, outlet, shower arm or pipework behind the wall.
To confirm the second result, dry everything, pull the plug and run the shower for fifteen minutes. If the damp returns, you have turned a vague problem into a specific repair, and any plumber can quote it properly instead of investigating from scratch.
Worth knowing: the QBCC traces most waterproofing failures back to incorrect membrane application, unsealed tap fixtures and poorly terminated waterstops. Those are original build faults, not neglect, so a shower failing at eight years old is a workmanship issue worth checking warranty on.
How to Fix a Leaking Shower Yourself: What Queensland Law Allows
Queensland is stricter than most people expect. The list of plumbing work an unlicensed person may carry out is short, and for a shower it comes down to two things:
- Replacing a jumper valve or washer in a tap
- Changing a shower head
That is the legal extent of your DIY. Mixer cartridges, pipework, waste refits, new fixtures and anything touching the membrane all require a licence, and waterproofing in particular is regulated work that must be done by a licensed professional. Re-siliconing a join counts as maintenance and is worth doing, but be clear on what it achieves: fresh silicone seals a surface gap and does nothing for a membrane that has failed underneath.
When to Call a Plumber
Stop and book someone if any of these apply:
- The flood test level dropped, or damp appeared while nothing was running
- Damp, staining or bubbling paint in an adjoining room or the ceiling below
- Tiles sound hollow when tapped, or the floor flexes underfoot
- Your water meter keeps ticking over with every tap in the house shut off
- You have resealed the shower and the leak came back
That last one is the clearest signal there is. A reseal that fails is a membrane problem wearing a cosmetic fix. Where a leak has no visible source at all, the meter test confirms water is escaping somewhere on the property, which is where water leak detection earns its keep.
Frequently Asked Questions
How do I know if my shower is leaking behind the wall?
Look for damp, staining or bubbling paint on the other side of the shower wall, soft skirting boards, a musty smell, or tiles that sound hollow when tapped. Confirm it by checking your water meter with every tap in the house off. If the dial still moves, water is escaping under pressure.
Can I fix a leaking shower myself?
In Queensland you may replace a tap washer or jumper valve and change a shower head, and you can reseal silicone joins. Everything else, including cartridges, pipework, waste connections and any work touching the waterproofing membrane, requires a licensed plumber.
How much does it cost to fix a leaking shower?
A washer or cartridge replacement is a standard service call and a reseal is modest. Replacing a failed membrane means removing tiles and screed, reapplying the membrane to AS 3740 and retiling, which is a full bathroom job. The diagnosis determines the bill, so establish which one you have first.
Why is my shower still leaking after I resealed it?
Because the water is not getting out through the silicone. A reseal only addresses surface joins. If the leak returns, water is almost certainly passing through the floor via a failed membrane, waste penetration or cracked base, which the 24-hour flood test will confirm.
Should I regrout a shower that keeps cracking?
Not on its own. If grout cracks in the same line repeatedly, something underneath is moving, and new grout will crack in the same place. Cracking that keeps returning in one spot usually means the substrate or the membrane needs attention.
The Bottom Line
Check the head, tapware, silicone and waste, fix what is obviously worn, then run the 24-hour flood test. Within a day you will know whether you are facing a repair or a rebuild, and that single fact is worth more than any amount of guesswork.
If the test says water is going through the floor, or the leak has no visible source, hand it over. Capital Plumbing has been solving shower leaks across the Gold Coast for over 20 years, fully licensed (QBCC 116098, QLD PDB 18938), with no call-out fee and upfront pricing before we start. Book a shower leak repair on the Gold Coast and we will run the test properly, tell you in writing what is actually failing, and fix it once. Or get in touch if you would rather talk it through first.